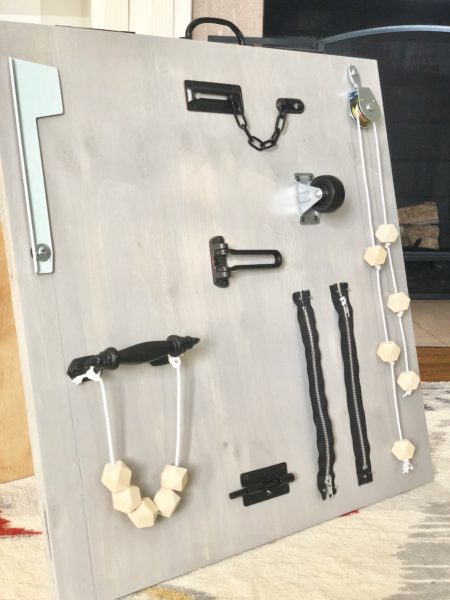
My little guy is obsessed with figuring out how things work. He’s way more interested in messing with “real life” stuff than playing with toys. So I knew he’d love a busy board! I decided to make one myself, and wanted to share the process!
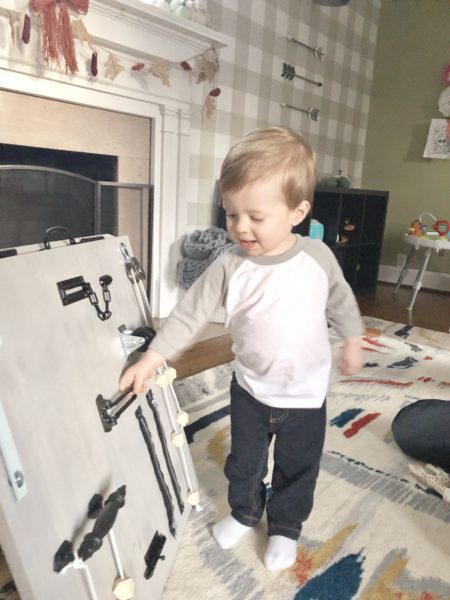
I loved that making the board myself meant that I could choose the overall look and feel of the board! I decided to go with a distressed/farmhouse grey for the boards and mostly black/natural wood accents.
Supplies
I started with a trip to Home Depot to grab the following supplies:
- 2 pieces of high quality plywood – these are 2’x2′ and 3/4″ thick
- Paint or stain in whatever color/look you desire – I used 1 coat of a greywash wood stain
- 2 door hinges
- Wooden beads
- Cabinet pull (for the top of the boards to carry them with, I also bought a more decorative one to go on the front of the board)
- Various door locks/latches/hinges
- Wheel
- Zippers
- String
- Small pulley
- Mailbox flag (which I painted light blue with paint I already had)
- Screws/nails in the sizes to fit the various items you bought in the color you want (I recommend trying to get 3/4″ screws or shorter so that you don’t have to worry about them coming through the back of the board)
- Clear grippy dots (for the bottom of the board so it doesn’t slip when open)
- Whatever else you want to put on it!
Other supplies needed that we already had:
- Paint brush
- Drill
Getting Started
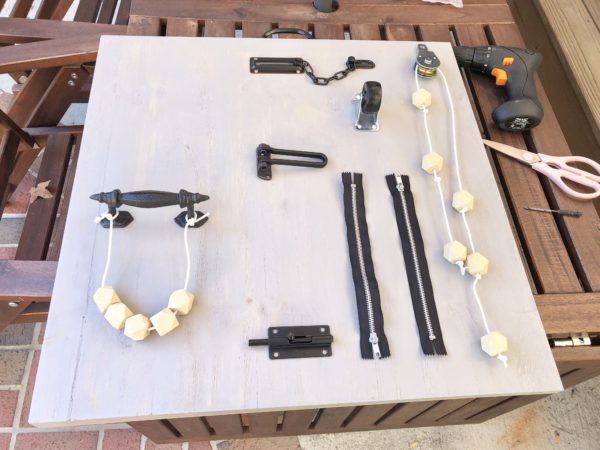
After getting all of my supplies, I started by staining the boards. I just used 1 coat, because I wanted a more transparent look with the wood grain showing through. After the boards were dry, I laid the items out on them to decide on the positioning (and took a picture so that I would remember later!).

Assembling the Board
Then it was time to start actually assembling the boards! The first step was attaching the boards to each other. To do this I flipped them over and lined up the top edges, and then attached the door hinges to the back sides of the boards.
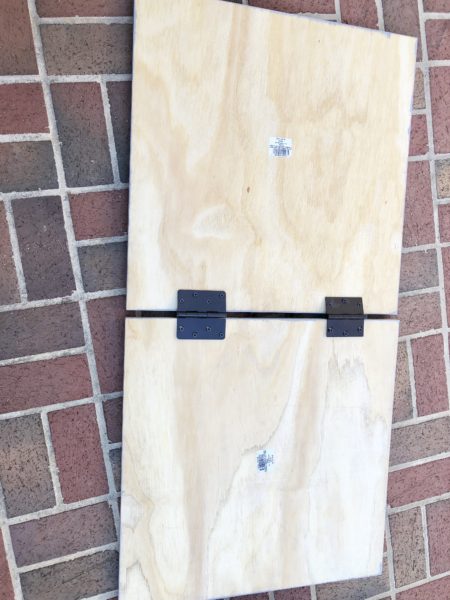
Once the hinges were attached, the boards could fold shut for easy storage and prop open when it’s time to play! I then attached a cabinet pull to the top of the boards to serve as a carrying handle.
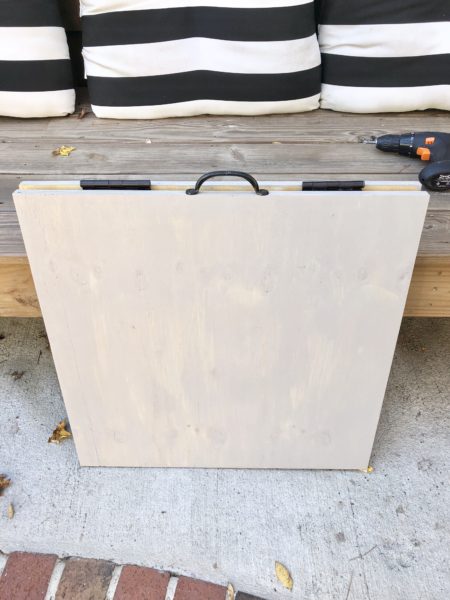
Now it’s time to attach all the fun stuff!
And we have a finished board!

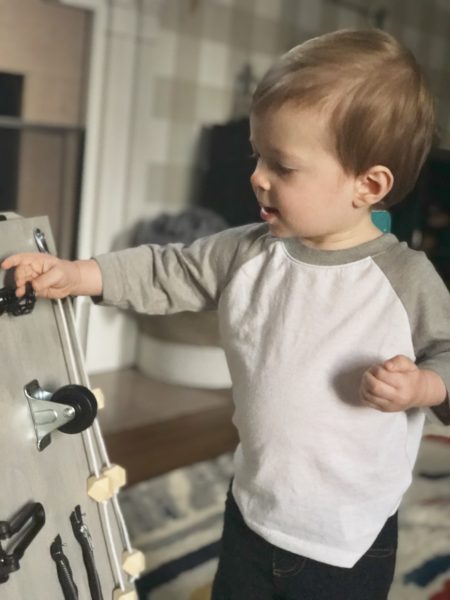
Hudson (17 months) is having such a blast exploring all of the different pieces and it’s so fun to watch him learn!


Please don’t hesitate to reach out if you decide to make a busy board and have any questions, and definitely tag me if you create one so I can see how it turned out!
Xo,
Shannon
